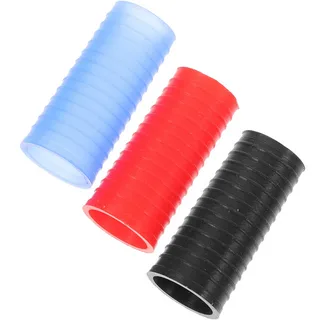
But design errors using custom silicone sleeves can turn a good product idea into a production nightmare.Whether it’s poor fit, unstable edges, logo failures, and molding problems, these issues can occur due to many factors that are overlooked such as product dimensions, tolerances, wall thickness, Shore A hardness, texture placement, and mold feasibility in the initial stages of the process.
The positive is that if buyers consider the following points as early as possible in the project, most problems associated with custom silicone sleeve designs can be avoided before the tooling process begins: product dimensions, fit tolerance, wall thickness, material hardness, texture, logo placement, mold feasibility, application environment, and package approval standards. The key to a successful custom silicone sleeve project is to consider fit, wall thickness, hardness, texture, logo, mold design, material and QC before tooling, not after the initial production issue.
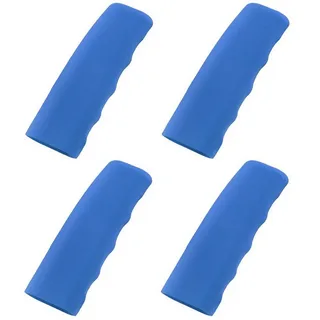
When it comes to the design of a silicone sleeve, many buyers expect it to be simple on the grounds that it’s flexible. But, it does not guarantee fit, stretch, edge stability, grip and/or manufacturability. Design thinking is essential for success in the real world, as are practical manufacturing realities.
Mistake 1: Designing From Photos Instead of Accurate Product Data
One of the most common custom silicone sleeve design errors we see is using only product photos. Photos are a great tool for reference because they give a clear visual indication of the item, but they do not have all the tolerances, curves, tapers, button placement, and surface detail to be considered a proper fit.
If the dimensions for the product are not known or physical samples are not available, the silicone sleeve produced may appear to be correct in CAD but may not align properly when installed or used. Typical problems include bottle sleeves, tumbler boots, electronic protective casing, pet product grips and beauty device sleeves. 2D drawings, 3D CAD files, detailed measurement sketches or physical product samples are always to be provided by the buyer.
| Missing Information | Possible Problem |
| Exact product dimensions | Sleeve may be too loose or too tight |
| Product taper or curve | Sleeve may slide, rotate, or lift at the edges |
| Bottom radius | Base boot may not sit correctly |
| Button or port position | Electronics sleeve may block functions |
| Surface finish | Grip strategy may be incorrect |
| Product tolerance | Sleeve fit may vary across batches |
| Installation direction | Sleeve may tear or deform during assembly |
Mistake 2: Ignoring Fit, Tolerance and Stretch Behavior
The fit of a custom silicone sleeve design is likely the most important factor. The inner dimensions, stretch properties, and tolerances are crucial to the success of the sleeve fitting securely or frustrating the user.
Shrinkage after molding, installation force or smooth surfaces like glass and stainless steel are all factors that can cause issues if they are not taken into account, but silicone’s natural elasticity is able to adjust for those variations. Either it can slip or rotate too much if it’s too loose, or it can be hard to put on or even tear if it’s too tight. For brands that need custom silicone sleeve project development support, fit tolerance, wall thickness, material hardness, mold feasibility, texture, logo method, and sample approval should be reviewed before tooling starts. Always test on real product samples from different production batches.
| Fit Mistake | What Can Happen | How to Avoid It |
| Inner size too loose | Sleeve slides, rotates, or feels unstable | Define fit tolerance and test on real product |
| Inner size too tight | Difficult installation or tearing | Review stretch path and Shore A hardness |
| Ignoring product tolerance | Some products fit, others do not | Check actual product batch variation |
| Ignoring smooth surfaces | Sleeve may shift during use | Improve fit, texture, or inner contact design |
| Poor edge design | Edges roll, lift, or deform | Reinforce edges or adjust geometry |
| No installation test | Problems appear after production | Test how users install and remove the sleeve |
Mistake 3: Choosing Wall Thickness Only Based on Cost
The decision on wall thickness should not be based solely on the saving that can be achieved in material costs. In custom silicone sleeves, there is a direct correlation between thickness and protection, flexibility, ease of installation, edge stability, and overall experience.
Thin walls can result in thin edges that roll over or bend easily, and thick walls can make the item bulky and expense it. A good design will usually include different thicknesses, with the thicker sections at the point of high stress such as bases, corners and grip zones, and the lighter sections elsewhere.
| Wall Thickness Mistake | Possible Result | Better Design Approach |
| Too thin everywhere | Weak protection, rolling edges, deformation | Keep minimum functional thickness where needed |
| Too thick everywhere | Bulky feel, higher cost, difficult installation | Use targeted reinforcement |
| Uneven thickness without review | Molding issues or deformation | Review material flow and mold feasibility |
| Thin edges | Lifting, tearing, or poor durability | Reinforce edge structure |
| Ignoring product use | Sleeve may not protect or grip properly | Match thickness to application and user handling |
| Reducing thickness only for price | Lower cost but higher quality risk | Balance cost with performance requirements |
Mistake 4: Selecting Shore A Hardness Without Testing
Another common pitfall when designing a custom silicone sleeve is selecting the wrong Shore A hardness. Hardness impacts on the ability of the sleeve to stretch over the product, the feel of the grip, shape maintenance and durability, etc.
Softer compounds (those with a low Shore A value) are highly flexible, but may also be less structured and result in sagging or edge roll. More rigid materials may retain their shape but also can be more difficult to install or be less comfortable. The correct hardness needs to be tested along with the type of application and wall thickness.
| Hardness Choice | Possible Risk If Chosen Poorly | How to Avoid It |
| Too soft | Rolling edges, loose fit, deformation | Increase hardness or reinforce structure |
| Too firm | Hard installation, reduced comfort, poor button feel | Test softer options or adjust geometry |
| Soft + thin wall | Weak structure | Review wall thickness and edge design |
| Firm + thick wall | Bulky feel and difficult assembly | Optimize thickness and installation path |
| No sample testing | Wrong hand feel or function | Approve hardness using real samples |
| Ignoring application | Material may not match product use | Choose hardness based on grip, protection, and fit |
Mistake 5: Treating Texture as Decoration Only
Texture is much more than a design element; it has a significant impact on how well the silicone sleeve grips, cleans and feels in hand, and even on the complexity of the mold. You may end up with sub-optimal performance if you consider it a last minute decoration.
Various finishes, such as ribbed, dotted, grooved, and matte textures offer different advantages and disadvantages. Texture placement is also important: heavy textures in logos will not always give a clear brand message, and too deep textures could catch dirt or be uncomfortable.
| Texture Mistake | Possible Problem | Better Approach |
| Texture too shallow | Little grip improvement | Test grip with real users or real-use conditions |
| Texture too deep | Uncomfortable or hard to clean | Balance grip, comfort, and cleaning |
| Texture placed everywhere | Logo clarity and appearance may suffer | Use grip zones and smooth logo panels |
| Texture chosen only visually | Grip may not perform well | Test dry, wet, and use-specific conditions |
| Complex texture added late | Mold cost and lead time may increase | Finalize texture before tooling |
| Ignoring mold feasibility | Texture may not reproduce consistently | Review machining and inspection requirements |
Mistake 6: Planning Logo Placement Too Late
Early consideration should be given to logo placement and how it is done, and not once the mold design has begun. Last minute changes often involve costly tooling changes or are likely to affect appearance.
Surface curvature, stretch zones (where logos can crack when stretched), and high touch areas are among the factors to consider. There are different methods such as emboss, deboss, silk screen printing and laser engraving for each that require varying depths, adhesion and durability.
| Logo Mistake | Possible Result | How to Avoid It |
| Logo added after mold design | Tooling changes may be required | Confirm logo method before tooling |
| Logo placed on curved surface | Distortion or poor readability | Use a logo panel or adjust size |
| Fine logo details | Molded or printed details may be unclear | Simplify artwork for silicone production |
| Logo in high-stretch area | Printing may crack or wear faster | Move logo to a lower-stress area |
| Embossing too high | Uncomfortable touch or cleaning issues | Control logo height |
| Debossing too deep | Dirt collection or poor cleaning | Review depth and sample test |
| No physical sample approval | Final logo may differ from mockup | Approve real molded or finished samples |
Mistake 7: Choosing Material Without Considering Real Use Conditions
When it comes to custom silicone sleeves, choosing a color isn’t the only factor to consider. The compound needs to be compatible with the product’s intended environment whether it’s for use in drinkware, on the outdoor surfaces or on skin friendly personal care devices.
Suboptimal real-world environments can result in degradation, compliance problems, or user experience concerns. Extreme temperatures, wet/oily handling, skin contact and cleaning process all contribute to the selection of the best silicone formulation and required additives or coatings.
| Use Condition | Material Risk If Ignored | Better Approach |
| Drinkware or baby products | Material may not match buyer documentation needs | Confirm food-grade or testing requirements early |
| Hot-use products | Material may not match temperature exposure | Define temperature range and contact time |
| Outdoor products | UV or weather exposure may affect performance | Review UV/weather-resistant material options |
| Beauty devices | Surface feel or skin-contact expectations may be missed | Test material feel and documentation needs |
| Electronics covers | Heat or function areas may be affected | Consider device temperature and ventilation |
| Custom color | Pigments may affect testing or appearance | Confirm color formulation and sample approval |
| Surface coating | Coating may not match use environment | Test durability and compatibility |
Mistake 8: Ignoring Mold Feasibility Before Tooling Starts
No matter how well-designed the product, it cannot be sold unless the mold is feasible. Parting line, demoulding angle, venting, material flow and complex geometries are unexpected problems that can only be identified after the tooling starts, which results in delays and additional expenses.
Careful mold review before making can help to uncover potential issues regarding flash control, texture reproduction, logo integration, and overall part quality.
| Mold Feasibility Issue | Possible Consequence | Prevention Method |
| Poor parting line planning | Visible seam or difficult trimming | Review parting line before tooling |
| Difficult demolding | Tearing, deformation, or sample failure | Adjust geometry or mold structure |
| Weak venting | Bubbles or surface defects | Review venting and material flow |
| Complex cutouts | Alignment or trimming issues | Confirm openings before tooling |
| Texture too complex | Higher tooling cost or inconsistent finish | Simplify or test texture design |
| Wrong cavity plan | Cost or production inefficiency | Match cavity number to quantity forecast |
| Late design changes | Extra tooling cost and delay | Lock design before mold fabrication |
Mistake 9: Skipping Real Sample Testing Before Mass Production
It’s not sufficient to get approval on appearance from digital renders or 2D drawings. The performance of silicone sleeves when stretched, compressed, and used repeatedly can only be accurately tested using real samples.
They should be evaluated for fit on real products, ease of installation/removal, grip performance, edge stability, durability of the logo, and more. Once approved, the sample becomes the reference of the quality in mass production.
| Sample Test Item | What Buyers Should Check |
| Fit | Sleeve stays secure without sliding or excessive tightness |
| Installation | Sleeve can be installed without tearing or deformation |
| Edge stability | Edges do not roll, lift, or weaken |
| Grip | Texture and material improve handling in real use |
| Hardness | Feel and flexibility match expectations |
| Wall thickness | Thickness supports protection, comfort, and cost goals |
| Logo | Branding is clear, positioned correctly, and practical |
| Color | Physical sample matches approved color target |
| Surface finish | Finish matches touch-feel and appearance requirements |
| Cutouts/openings | Buttons, ports, or functional areas align properly |
| Packaging | Sleeve fits the planned packaging and sales channel |
Mistake 10: Comparing Supplier Quotes Without Checking Scope
It is dangerous to only consider the lowest price. The prices of custom silicone sleeve manufacturers can be very diverse as to what they cover: mould costs, material grade, secondary processes, testing, packaging and quality standards.
Make sure everything is compared apples to apples — get detailed breakdowns on tooling, samples, material specification, finishing options, lead times, and QC procedures
| Quote Item | Why It Must Be Compared |
| Mold cost | Tooling may be included or separate |
| Sample cost | Sample development may not be included in unit price |
| Material grade | Different silicone materials affect performance and documentation |
| Hardness | Should match approved application requirements |
| Logo method | Molded, printed, and engraved logos have different costs |
| Texture | Complex grip texture may affect tooling cost |
| Surface finish | Coating, matte, glossy, or soft-touch effects may add cost |
| Packaging | Bulk, retail, and ecommerce packaging are different scopes |
| Testing | Reports may not be included unless requested |
| QC standard | Inspection level affects reliability |
| Lead time | Tooling, sampling, production, and shipping should be separated |
How to Avoid Custom Silicone Sleeve Design Mistakes Before Tooling
The first step in avoiding custom silicone sleeve design errors is to have a well-defined pre-tooling review process. Spending a little time in the beginning defining requirements clearly, can save a lot of time and money in the end.
Some of the most important steps are ensuring that product data is correct, verifying product functionality, and finalizing key specifications, such as dimensions, tolerances and materials before investing in mold production.
| Pre-Tooling Check | Why It Helps |
| Product sample or CAD file | Supports accurate fit and mold review |
| Application definition | Helps choose material, hardness, texture, and thickness |
| Sleeve coverage | Determines function, cost, and appearance |
| Fit tolerance | Prevents loose or over-tight sleeve problems |
| Wall thickness | Balances protection, grip, cost, and moldability |
| Shore A hardness | Guides flexibility, installation, and shape retention |
| Logo method | Prevents late tooling or finishing changes |
| Texture design | Supports grip, comfort, and mold feasibility |
| Mold review | Reduces tooling mistakes and sample revisions |
| Packaging plan | Ensures finished product fits sales channel needs |
| QC standard | Defines what mass production must meet |

How to Work With a Manufacturer to Reduce Design Risk
It makes a huge difference when you work with an experienced custom silicone sleeve manufacturer that provides comprehensive design review services. Seek partners who can make engineering feedback on your drawings or samples, material suggestions, in-house mold design, and sample and production assistance.
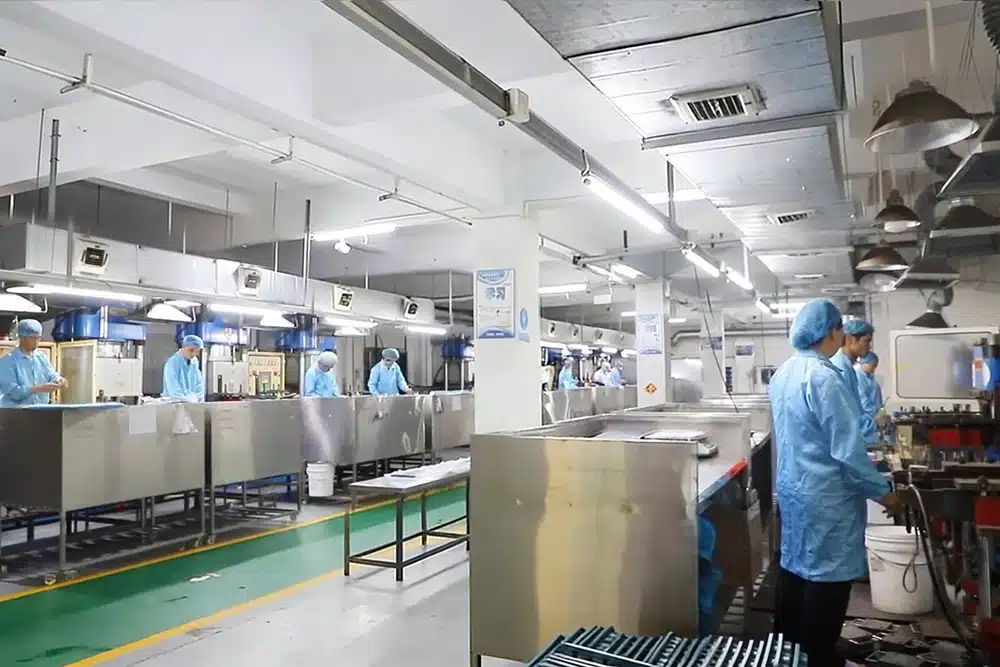
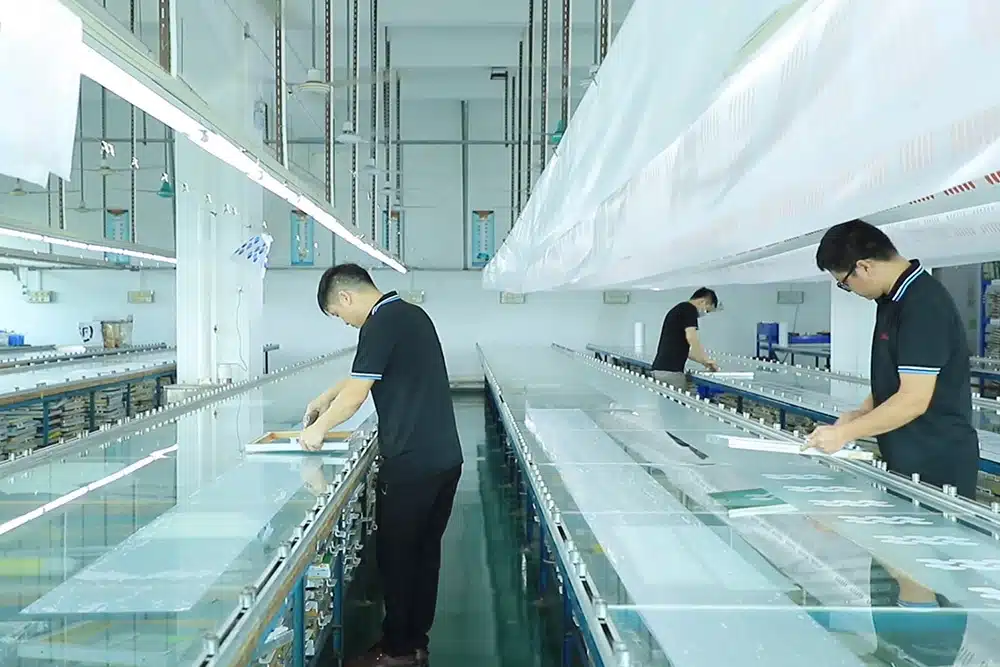
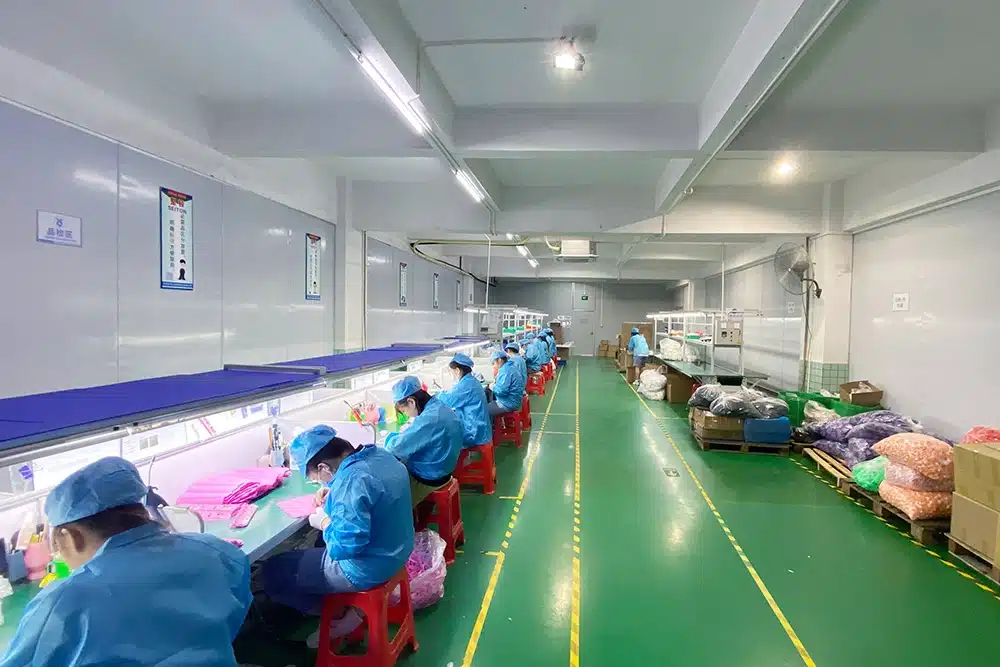
The capability of compression molding, material selection, texture development, logo customization including silk screen or laser engraving or embossing, and strict quality control from the raw material to the packaging should be strong among the qualified manufacturers. The in-house mold making, trial molding and clean production environments further mitigate the fit, defect and consistency risks.
| Manufacturer Capability | Why It Helps Avoid Design Mistakes |
| Engineering review | Identifies fit, thickness, tolerance, and tooling risks early |
| Material selection support | Matches silicone grade and hardness with real use conditions |
| In-house mold capability | Helps control mold design, logo, texture, and sample adjustments |
| Silicone molding experience | Reduces risks related to flash, deformation, curing, and defects |
| Surface finishing options | Helps choose suitable logo, texture, and finish methods |
| Sample development | Allows real testing before mass production |
| Quality control system | Confirms dimensions, hardness, appearance, texture, logo, and packaging |
| Packaging support | Ensures the finished sleeve works for retail, ecommerce, or OEM delivery |
Conclusion — Better Design Review Means Fewer Production Problems
Although silicone is a flexible material, slight changes in custom silicone sleeve design can make a huge difference in fit, performance and user experience, production efficiency and costs. When you know what to expect, and avoid the common pitfalls outlined in this document, such as incorrect product data, fit and tolerance, wall thickness, Shore A hardness, texture, logo integration, material selection, and mold feasibility, your project will undoubtedly be a success.
The secret is careful planning and close liaison with the manufacturer before tooling begins and careful physical sample testing. It helps avoid revisions, ensures that your sleeve functions as you intended in the real world and will provide a quality finished product that will build your brand. These practices help OEM buyers, product designers and brand owners make it to market with better custom molded silicone sleeves in a timely manner.