The first step to determining whether your silicone product will perform reliably in production, meet the expectations of the user, and not exceed your budget is to custom silicone molds design it. The product application, size, cavity shape and number, wall thickness, silicone hardness, material requirement, demolding direction, logo positioning, surface texture, and packaging fit are required to be decided from the very beginning to design a custom silicone mold. Each type of molding (baking, candy, soap, ice cube, beverage, or DIY) has its own priorities that directly affect the feasibility of tooling, utilization of materials, mold release and final product quality.
However, many buyers think that the custom silicone mold design is complete when it appears good on the screen. However, in reality, there are many detailed aspects of a cavity design, corner radius, wall uniformity, and demolding geometry that can make or break a mold, even after it has been tooling finished. When designing a custom silicone mold, it is important to consider it as a product system since the shape, cavity layout, wall thickness, hardness, material, silicone mold design and tooling services, user experience, and packaging all play a role.
Quick Answer: What Makes a Good Custom Silicone Mold Design?
When it comes to custom silicone mould design, function, capability and user experience are all important, and they should all be taken into account before any steel is even cut. It starts with a clear product application and then covers practical issues related to product application from prototyping through mass production.
For buyers developing baking, candy, soap, ice, beverage, or DIY products, custom silicone mold design performance issues with releasing the mold and maintaining a consistent volume of product.
If you just need a quick reference to the key aspects of a design, here they are:
| Design Factor | Why It Matters |
| Product Application | Determines material, hardness, temperature needs, and use environment |
| Overall Size | Affects tooling size, silicone usage, packaging, and handling |
| Shape | Defines product function, appearance, and market differentiation |
| Cavity Layout | Influences production efficiency, user experience, and cost |
| Wall Thickness | Affects flexibility, durability, support, and material consumption |
| Silicone Hardness | Balances easy release with shape stability |
| Corner Radius | Helps reduce tearing risk and improves cleaning and demolding |
| Demolding Direction | Reduces deformation, sticking, and product damage |
| Logo / Texture | Adds branding but must be feasible for tooling and release |
| Packaging Fit | Ensures the product works for retail, ecommerce, or bulk packing |
Step 1: Start With the Product Application
For any custom silicone mold, the product use determines the overall design logic. All subsequent decisions on size, thickness and material should be based on the performance requirements of the various applications.
Strong support structures and heat resistance are the necessary properties of baking molds. Fine detail and smooth cavity finishing is essential for candy and chocolate molds. The soap mold makers go for textures and flexibility in demolding. Ice cube trays require flexibility in the freezer and easy release of the cavity for use. Beverage moulds put into food contact safety, smell management and convenient storage. Promotional molds have to meet a different set of requirements, like branding visibility and usability for packaging, while DIY molds focus on tear resistance and detail reproduction.
| Application | Main Design Priority | Example Products |
| Baking Molds | Heat resistance, support structure, easy release | Cake molds, muffin molds, cookie molds |
| Candy & Chocolate Molds | Fine detail, smooth surface, flexible release | Candy molds, chocolate molds, gummy molds |
| Soap Molds | Flexible demolding, surface texture, logo clarity | Bar soap molds, decorative soap molds |
| Ice Cube Trays | Freezer flexibility, cavity release, lid fit | Ice trays, whiskey ice balls, cocktail ice molds |
| Beverage Molds | Food-contact material, odor control, storage convenience | Popsicle molds, frozen dessert molds |
| DIY Craft Molds | Detail accuracy, tear resistance, cleaning ease | Resin molds, clay molds, craft molds |
| Promotional Molds | Branding, visual appeal, packaging compatibility | Seasonal molds, logo molds, gift products |
Step 2: Define the Right Size and Product Dimensions
There are many factors that size decisions impact on, such as the cost of tooling, shipping efficiency, and the end user convenience. Setting dimensions early on in production and logistics will help avoid issues downstream.
Take into account overall dimensions (length, width and height), cavity size, depth, target product weight and fit into retail packaging or shipping cartons. If the mold is an ice tray or popsicle molds, the dimensions of the mold should be confirmed first to ensure that the lid and accessories fit properly.
| Dimension Detail | Why It Matters |
| Overall Length and Width | Affects tooling size, packaging, storage, and handling |
| Overall Height | Influences product structure, shipping volume, and user experience |
| Cavity Size | Determines finished product output and usability |
| Cavity Depth | Affects demolding, cleaning, and final product shape |
| Product Weight | Helps estimate silicone usage and unit cost |
| Lid or Accessory Fit | Important for ice trays, popsicle molds, and product sets |
| Retail Packaging Size | Should be considered before finalizing mold dimensions |
| Carton Packing | Affects shipping efficiency and logistics cost |
Step 3: Design the Shape for Function, Not Only Appearance
The shape needs to be realistic and work for production. When the design is not eye-catching or doesn’t work out during the demolding and cleaning process, it adds unnecessary expenses and delays.
Focus on rounded corners, smooth release paths, and functional support areas. Keep all undercuts and features simple unless they make a necessary part of the job. Simple, balanced forms with uniform thickness provide more uniform molding properties and are easier to handle and clean after molding.
| Shape Design Element | Practical Design Guidance |
| Rounded Corners | Improve release, reduce tearing, and make cleaning easier |
| Avoiding Sharp Details | Reduces risk of weak areas, difficult cleaning, or unclear molding |
| Smooth Release Direction | Helps users remove baked goods, soap, candy, ice, or craft items |
| Functional Rim | Improves handling and structure stability |
| Balanced Shape | Helps prevent deformation during use and packaging |
| Surface Detail | Should be deep enough to show but not so deep that release becomes difficult |
| Symmetry Where Possible | Improves appearance consistency and tooling efficiency |
| User Handling Area | Makes the finished product easier to bend, carry, or use |
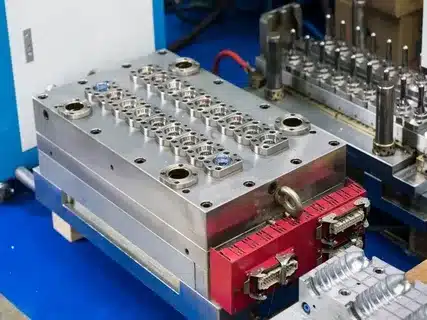
Step 4: Plan the Cavity Layout Carefully
Parts per molding cycle and ease of user interaction with the product is directly effected by cavity layout — choosing the right single-cavity vs multi-cavity silicone molds is key to balancing efficiency and usability. Bad layout results in higher material waste, makes it harder to clean the part and makes it more difficult to design the tool.
Choose whether the design will be single-cavity or multi-cavity, then maximize the use of the mold sheet, edge distance and spacing. When production volume calls for it, multi-cavity layouts are ideal for baking trays, candy molds, soap molds, or ice cube trays.
| Cavity Layout Factor | Why It Matters |
| Number of Cavities | Affects user output, tooling complexity, and production efficiency |
| Cavity Spacing | Helps maintain structure strength and easier cleaning |
| Edge Distance | Prevents weak edges and improves durability |
| Cavity Depth | Influences release difficulty and finished product shape |
| Cavity Consistency | Supports stable product output and professional appearance |
| Mold Sheet Size | Affects packaging, storage, and shipping volume |
| Layout Symmetry | Improves appearance and user experience |
| Multi-Cavity Design | Useful for baking trays, candy molds, soap molds, and ice cube trays |
Step 5: Choose Suitable Wall Thickness
There are many factors that play a role in designing silicone molds, but one of the most crucial, yet often overlooked, is the thickness of the wall. It regulates the flexibility, structural strength, consumption of materials, and durability of the structure in the long run.
Thin walls may cause the product to warp or tear at load, while too thick walls result in higher manufacturing costs and less suppleness that is desired by the user from silicone. A uniform thickness will ensure uniform curing and product uniformity. Strategic reinforcement is a better way to ensure larger or deeper designs, than simply going up in thickness.
| Wall Thickness Situation | Possible Result | Better Design Approach |
| Too Thin | Deformation, tearing, weak support, short product life | Increase support or adjust hardness |
| Too Thick | Higher material cost, reduced flexibility, difficult release | Reduce unnecessary material while maintaining strength |
| Uneven Thickness | Inconsistent feel, cooling/curing variation, deformation risk | Keep wall thickness as uniform as practical |
| Large Mold With Thin Walls | Mold may collapse or bend when filled | Add support rim or structural reinforcement |
| Deep Cavities With Thin Walls | Difficult demolding or wall distortion | Review cavity depth, radius, and wall structure |
| Small Detail Areas | Weak edges or unclear molding | Adjust detail size and wall support |

Step 6: Match Silicone Hardness With the Mold Structure
As silicone hardness and structural design are interdependent, they must be determined together as these properties will have significant impact on release performance and shape retention. Our detailed guide on Shore hardness for custom silicone molds can help you make the right selection. There are compounds that are softer, which will have good flexibility for demolding but at the same time may not be very rigid and also compounds that are firmer have high support but are not very easy to demold.
Baking molds usually require a balance that holds their shape and provides weight when baked. Softer molds work well for making candy and chocolate shapes with great detail. Ice cube trays need to be flexible and not crack when placed in the freezer. Soap and DIY molds give emphasis to tear resistance when repeatedly flexing.
| Product Type | Hardness Design Consideration |
| Baking Molds | Need balance between support and release performance |
| Candy & Chocolate Molds | Usually require good flexibility and fine detail reproduction |
| Soap Molds | Need enough flexibility for demolding without wall collapse |
| Ice Cube Trays | Need freezer flexibility and stable handling when filled |
| Popsicle Molds | Need support, lid fit, and easy release |
| DIY Craft Molds | Need tear resistance and detail accuracy |
| Promotional Molds | Need suitable feel, durability, and visual presentation |
Step 7: Consider Demolding Direction and Release Performance
Even the best custom silicone mold designs can be compromised by the product sticking to the mold or tearing when removed. The direction and release-friendly geometry of the demolding must be built in from the start of the design.
Draft Angles, generous corner radius and push areas (particularly in ice cube trays) make a big difference. The quality of the surface finish in the cavity is also an important consideration as to how readily the finished part will demold and how easily the mold can be cleaned from cycle to cycle.
| Release Factor | Why It Matters |
| Demolding Direction | Helps products release without tearing or deformation |
| Corner Radius | Reduces stress and improves release |
| Cavity Depth | Deep cavities may require more flexible design |
| Surface Finish | Affects cleaning and release feel |
| Sharp Details | May trap material or damage finished products |
| Flexible Bottom | Useful for ice trays, candy molds, and some DIY molds |
| Support Rim | Helps users hold the mold during release |
| Real Use Testing | Confirms whether the design works under actual conditions |
Step 8: Add Logo, Texture and Branding Without Hurting Function
Branding elements must provide value to the design of the custom silicone mold and not add to the complexity. Logos, textures and decorative elements need to be designed to be intelligible after repeated use, yet move easily and be easy to clean.
When applying embossed or debossed logos in cavities, one needs to be careful with the depth of the logo. Surface textures are fine but should not form pockets for residue. By coordinating the design and tooling teams early, branding features are not turned into production bottle necks.
| Branding Element | Design Consideration |
| Embossed Logo | Needs enough height and width to remain clear after molding |
| Debossed Logo | Should not create cleaning or release problems |
| Cavity Logo | Must be tested because it affects finished product appearance and release |
| Outer Surface Logo | Useful for branding without affecting cavity function |
| Fine Pattern | Should be large enough for tooling and easy cleaning |
| Surface Texture | Adds visual value but may affect release and dirt buildup |
| Brand Color | Should be confirmed through physical samples |
| Packaging Design | Should match product dimensions and brand positioning |
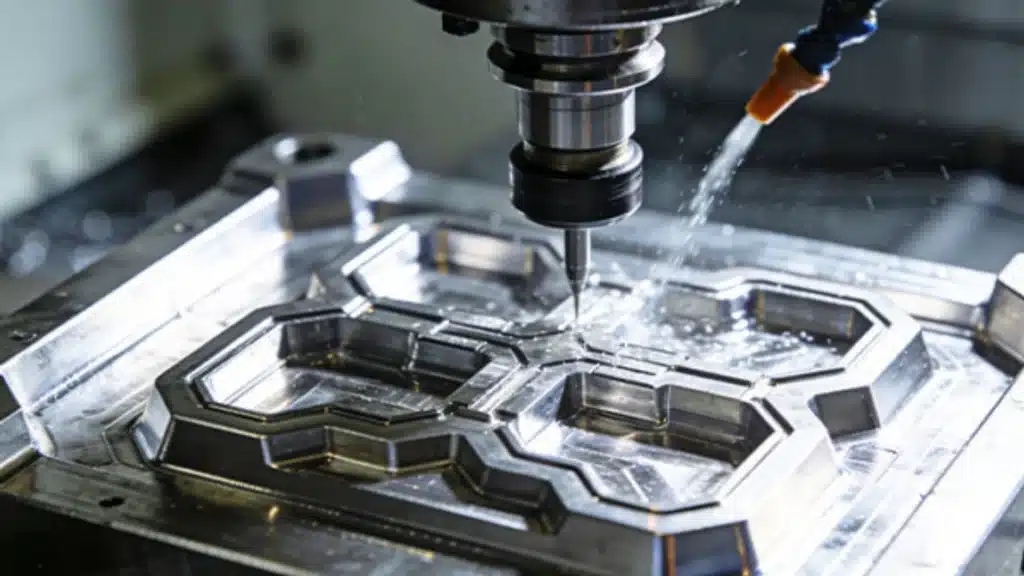
Step 9: Design for Tooling Feasibility and Production Efficiency
Any design on paper that is technically correct must also be practical in production and maintenance over long production runs. The location of parting lines, venting, material flow and control of the flash are all factors which influence cycle time, the trimming operation, and long-term mold life.
These are all things that experienced manufacturers consider in the design phase to make tiny changes that have a massive impact on efficiency, but don’t change the overall aesthetic or purpose. Balanced design is easy to simplify and repeat over and over in compression molding and co-injection processes.
| Tooling / Production Factor | Design Impact |
| Parting Line | Affects appearance, flash, and trimming workload |
| Tooling Precision | Influences cavity accuracy and repeatability |
| Multi-Cavity Tooling | Improves production efficiency for bulk orders |
| Venting Design | Helps reduce trapped air and incomplete molding |
| Material Flow | Affects complete filling and surface quality |
| Trimming Area | Should be planned to avoid visible or uncomfortable edges |
| Mold Maintenance | Affects long-term consistency in repeat orders |
| Production Cycle | Simpler, balanced designs are often easier to produce consistently |
Design Differences by Product Category
Each silicone product category calls for specific design considerations. Learn how to customize silicone molds for baking, candy, soap and DIY products to meet different application needs. A single size fits all solution rarely works out in terms of performance or cost.
Baking molds put a special focus on structure and heat resistance. Candy molds are for ultra smooth cavities and shallow to medium depth. Desirable features of a decorative soap mold are flexibility without collapse. Push-out bottoms and lid compatibility are advantages of ice cube trays. Popsicle molds need easy to clean handles and stable. The main concern for DIY molds is the repeatability and durability of the mold. Promotional molds put a greater emphasis on the presentation of the logo and making the gift ready to go.
| Product Category | Key Design Priority |
| Baking Molds | Heat resistance, support rim, wall thickness, easy release |
| Candy & Chocolate Molds | Fine cavity detail, smooth release, shallow-to-medium cavity depth |
| Soap Molds | Flexible release, decorative texture, cavity stability |
| Ice Cube Trays | Freezer flexibility, bottom push design, lid fit |
| Popsicle Molds | Handle area, lid fit, easy cleaning, stable cavity shape |
| DIY Craft Molds | Detail accuracy, tear resistance, material compatibility |
| Promotional Molds | Logo clarity, visual appeal, gift-ready packaging |
What Design Files Should Buyers Prepare?
With complete and accurate design files, a silicone mold manufacturer can offer realistic feasibility comments, accurate quotes and speedy sample approvals. See our checklist for what information you need to provide for a custom silicone mold quote.Because of missing information, projects are frequently revised back and forth, causing delays.
Create 3D CAD models in common formats, detailed 2D drawings with tolerances and wall thickness callouts, physical reference parts (if available), vector logo artwork, Pantone color reference and a packaging concept. Engineering team use application notes to make the most suitable recommendation for the material and hardness.
| Design Information to Prepare | Why It Helps |
| 3D CAD File | Helps evaluate geometry, tooling feasibility, and structure |
| 2D Drawing | Defines dimensions, tolerances, wall thickness, and technical notes |
| Physical Sample | Helps match size, feel, flexibility, and user experience |
| Reference Image | Helps communicate design direction when CAD is not available |
| Cavity Layout | Helps calculate tooling complexity and production efficiency |
| Wall Thickness Requirement | Helps balance flexibility, support, and material usage |
| Logo Artwork | Helps evaluate embossing, debossing, printing, or engraving feasibility |
| Color Requirement | Supports Pantone or sample-based color matching |
| Packaging Concept | Helps ensure the mold size fits retail or ecommerce packaging |
| Application Notes | Helps recommend material, hardness, and performance testing |
Common Design Mistakes to Avoid
Sometimes, even the most savvy sourcing teams miss key details that lead to a production headache. If the risks are identified early, they can save the time and money.
Typical mistakes are the failure to take into account the release, wall strength, too fine a logo detail or not considering the packaging dimension until after tooling. Another common drawing error that results in surprises in mass production is approving CAD drawings without physical samples.
| Common Design Mistake | Better Approach |
| Designing only for appearance | Review function, release, wall thickness, and tooling feasibility |
| Making walls too thin | Add support or adjust hardness to improve durability |
| Making cavities too deep | Use release-friendly depth, radius, and flexibility |
| Adding sharp corners | Use rounded corners where possible |
| Ignoring demolding direction | Review how the finished product will be removed |
| Choosing hardness too late | Confirm hardness during design and sampling |
| Making logo details too small | Adjust logo size and depth before tooling |
| Ignoring packaging | Check retail or ecommerce packaging fit early |
| Forgetting production efficiency | Consider cavity layout and mold size before tooling |
| Skipping sample testing | Test real use before mass production approval |
How a Silicone Mold Manufacturer Reviews Your Design
A qualified silicone mold manufacturer will not just take your drawings, instead, they will conduct a structured design review which will allow them to find potential issues before tooling starts. This is where years of OEM/ODM product design and development experience, silicone material selection and optimization comes in handy, as well as mold design and tooling manufacturing and prototype and sample production.
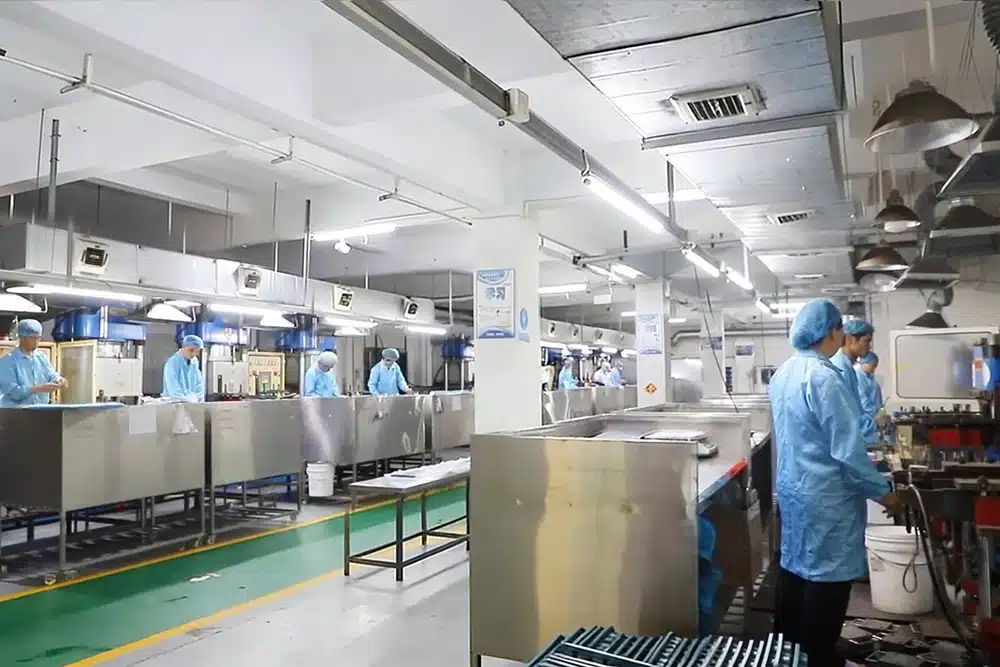
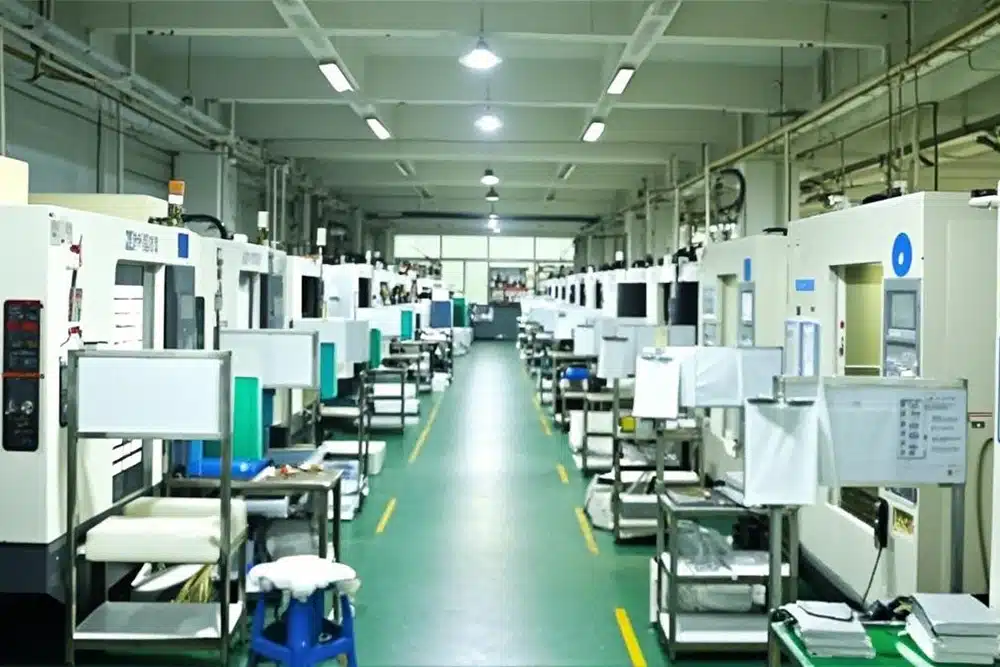
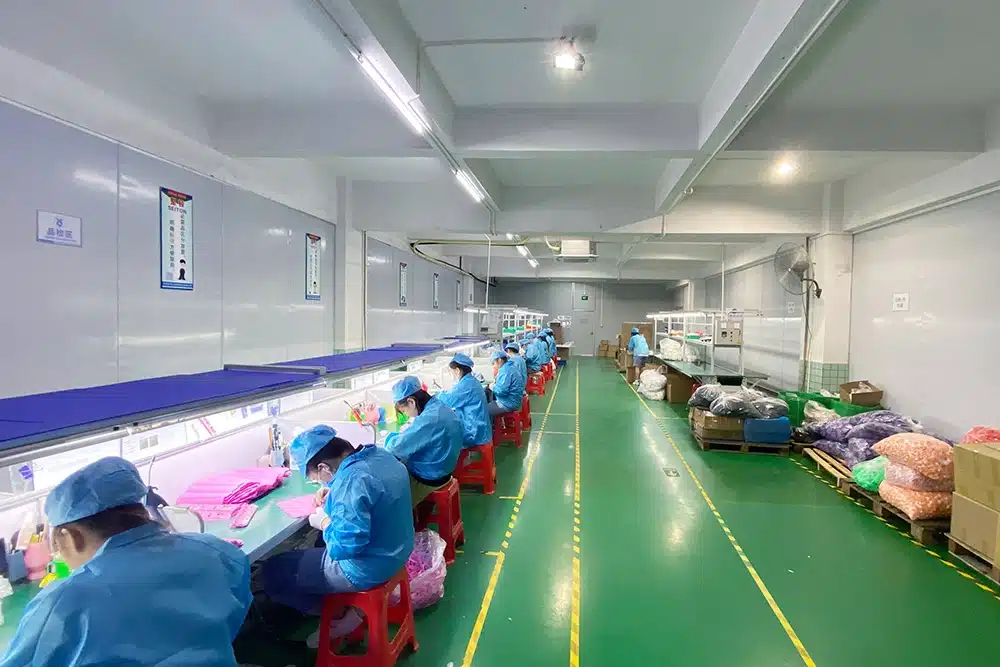
Engineers review the application fit, geometry, wall thickness, cavity layout, logo feasibility, and production stability at a professional facility that has in-house mold manufacturing workshops, compression molding machines and dust-free assembly lines. They also take into account raw material inspection, in-process quality control and end product testing as part of their design process to guarantee the design will provide a consistent result for bulk orders.
| Review Area | What the Manufacturer Checks |
| Application | Whether the design matches baking, candy, soap, ice, DIY, or promotional use |
| Material Selection | Whether the silicone grade and hardness fit the product |
| Geometry | Whether the shape can be molded and demolded smoothly |
| Wall Thickness | Whether the mold has enough support and flexibility |
| Cavity Layout | Whether the layout supports production efficiency and user experience |
| Logo / Texture | Whether details are feasible for tooling and release |
| Tooling Structure | Whether the mold can be manufactured accurately and maintained |
| Production Stability | Whether the design can be repeated consistently in bulk |
| Packaging Fit | Whether the final product size works with packaging requirements |
| Quality Control | Which dimensions, appearance details, and functions need inspection |
Conclusion — Good Silicone Mold Design Reduces Production Risk
A good custom silicone mold takes into consideration look, usability, manufacturability, and appearance. Prior to tooling, buyers must study the product application, size, cavity layout, wall thickness, silicone hardness, demolding direction, logo detail, material requirements and packaging fit together as an integrated system. If these design elements are validated early on, the sample process will run smoother, the mass production will be more predictable, and the end product will be more likely to meet the expectations of buyers and market requirements.
Considering these factors in advance reduces revision, control costs, and help you get silicone products that work for your customers. The proper custom silicone mold design converts a great concept into a profitable product line for repeat production. Partnering with a manufacturer offering strong in-house mold manufacturing capabilities ensures your design translates smoothly into high-quality production.